DIY Chalk Paint (Lola’s Room Makeover Begins!)
After months of talking about it, I’m finally buckling down and planning to make some progress on Lola’s room since she’s been patiently waiting for a while now as her sisters’ and brother’s rooms got done! I’ve put it off as long as possible since her room is the biggest and because I have a few plans that I think might really be challenging! (Eeek!)
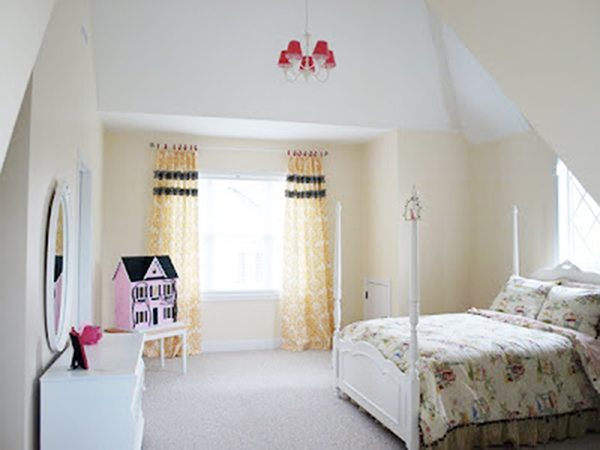
Here are a couple shots of her room as it has been since we moved in…


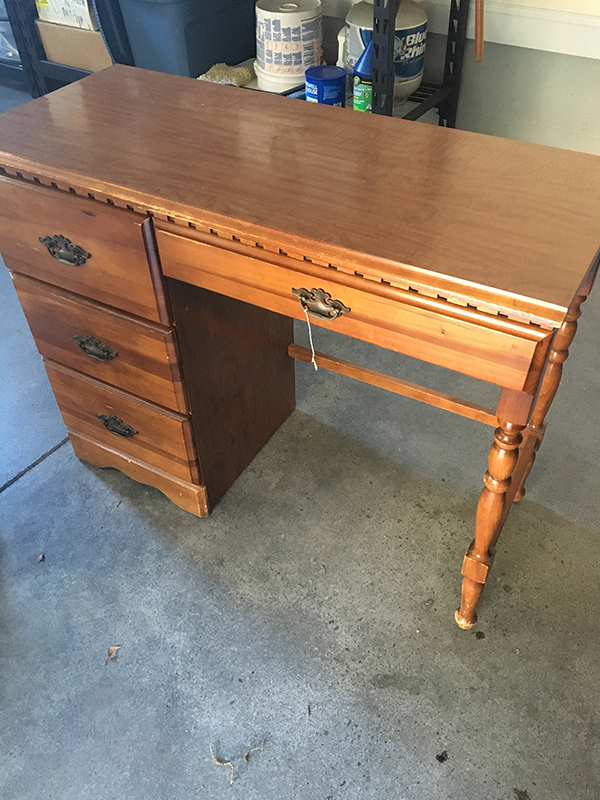
There will be painting and new curtains and bedding and pretty much everything as this progresses, but the first phase was a couple of new pieces of furniture! I searched everywhere for a desk and dresser for her, and I couldn’t believe it when I came across this desk and dresser in two different places the same week! They are almost identical in style and just what we were looking for! And for less than $100 for both, they were a steal!


The fun part is always the transformation for me, and I decided to try my hand at some DIY chalk paint since I’ve heard some great success stories about it. Have you tried it yet? It really was super easy and I am loving the results! These pieces were mostly wood, but the desk top was a laminate. And the homemade chalk paint worked beautifully!
Here’s the easy recipe…

(This post contains affiliate links which help to support this blog. Read full disclosure here.)
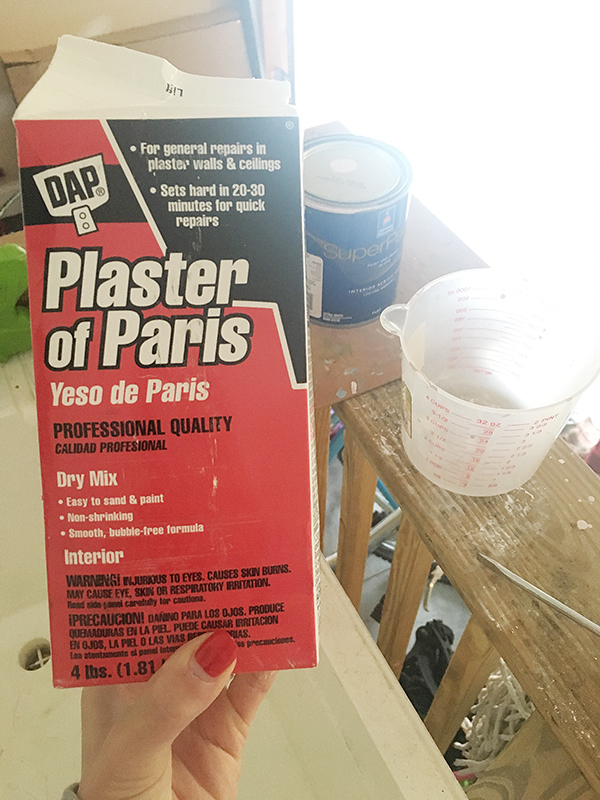
I just used a plastic mixing cup like this one to mix it all up, and I decided to double the recipe since I was doing 2 pieces. (The recipe supposedly is for one 6-drawer dresser.) You’ll also need Plaster of Paris which you can buy online here or in a local hardware store. All you have to do is mix the Plaster of Paris with the water and stir well until it’s completely mixed.


Next, you’ll add the latex paint of your choice. I used Sherwin Williams’ Super Paint in flat for these pieces because I wanted to be sure I would have a good quality paint that is durable as well. I wanted a very pale pink color, so I went with Demure, which is one of their newer colors, and it was just perfect!
I chose to use a new nylon brush with fine bristles to help get a smooth finish. And I sanded very lightly with my sander as well. I have this Octo Skil sander which I love for furniture because of the way it can reach into small areas. After sanding, I just wiped the pieces down with a lightly dampened cloth and started the painting! The paint went on very smoothly, with no problems at all. And it dried in about 20 minutes or so. It did take about 3 coats for me to get really good coverage, which is not surprising, considering this was such a light color going over a dark stain.
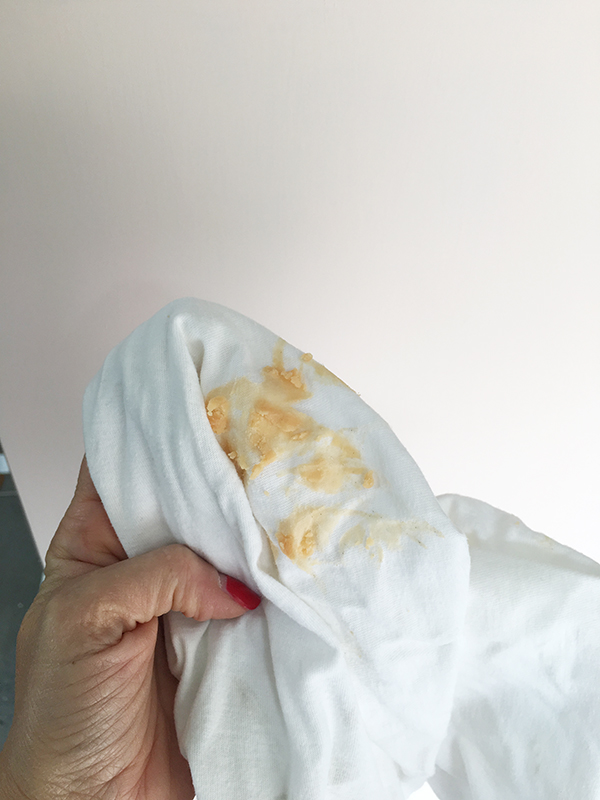
I did not want these pieces distressed or aged, but I did want to be sure the finish would be durable, so on the dresser and body of the desk, I used this Minwax Paste Finishing Wax in natural.

This stuff is so easy to apply. All you need to do is take a soft cloth (I use an old t-shirt) and scoop out the paste, wipe it on the furniture, and give it a few minutes to dry.


Then, just buff it with another clean, dry cloth! That’s it. It doesn’t change the color or put too much shine on the chalk finish. I did 2 coats for these pieces to give it a little extra protection.

For the top of the desk, I decided to go with a polyurethane because I know the desk will have to put up with a little more use. So, I went with this Minwax Fast-Drying Poly in Clear Satin. I applied it with a sponge applicator and applied 2 coats, letting it dry well in between coats.

This is a “clear” poly, however, it is a little yellow in color and should be applied in thin coats to prevent a noticeable color change in the paint. I haven’t used this on a white paint, which could be an issue, so test first to be sure. On the pale pink, you can see a slight difference, but not noticeably once the poly is dry.

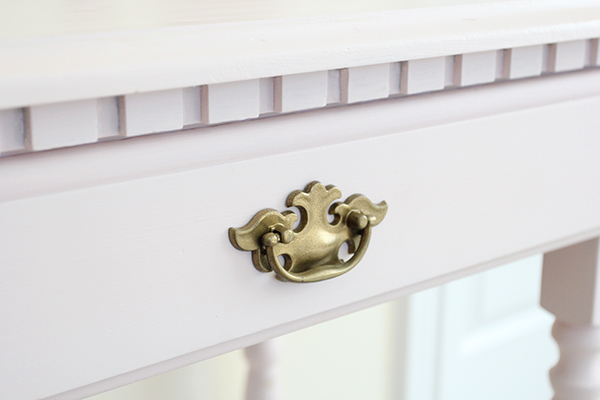
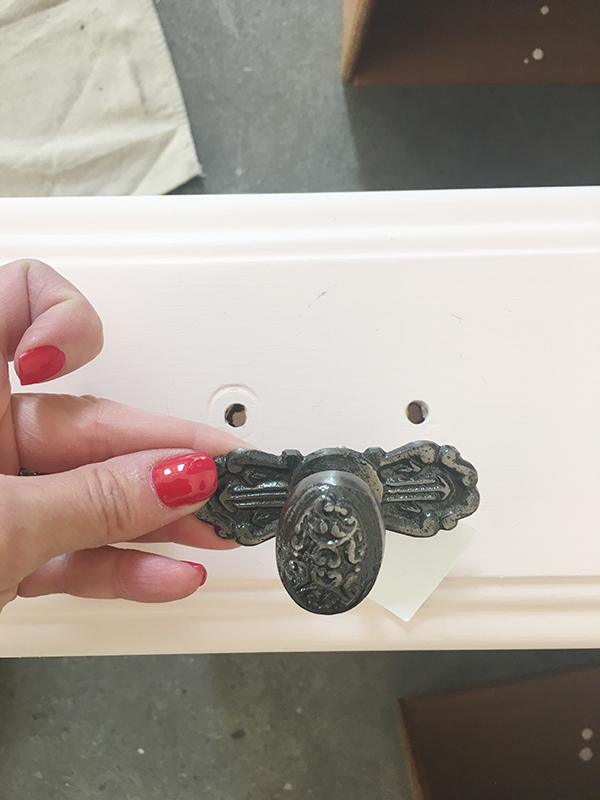
I was able to use almost all the original hardware, but I did buy these knobs with matching plates from Hobby Lobby for the top drawer of the dresser.

Then, I gave them all a little spray of my favorite Krylon Gold Foil Metallic to brighten them up, and they were perfect!


I am loving how these turned out! Next on our to-do list is going to be to get the walls painted, curtains, bedding, a desk chair, and more!


And for the first time ever, I’m joining up with the One Room Challenge to help motivate me to get this room done by the deadline in 4 weeks! Eeeeek! I have a lot to do!
Be sure to click over to the link-up here to see all the other participants and their progress on their own spaces! Stay tuned to see how this goes!!

Here is a handy supply list for this project! (affiliate links)


October 14, 2016 @ 9:37 am
Very nice! Now the pieces look furniture showroom!
October 14, 2016 @ 1:43 pm
Aww! Thanks! I’m glad you like them!
October 14, 2016 @ 2:05 pm
The chest turned out so nice…thanks for sharing the DIY chalk paint recipe, I don’t want to invest $$ in the “real deal” as I don’t think I’d use it that much.
October 16, 2016 @ 3:22 pm
You’re welcome! I’m glad you like it! It really is easy to do!
October 14, 2016 @ 8:52 pm
Love what you’ve done – have not worked with chalk paint. I usually just use a spray can of Rustoleum and go to town on the piece I’m doing. I always LOVE the transformation from this to that! These pieces being no different – great job!!
October 16, 2016 @ 3:24 pm
Thank you! I love spray paint, too! But this chalk paint really is simple!
October 18, 2016 @ 5:50 am
Love the furniture! I always get excited when you do a makeover;) What are your plans for the little black and white awning in the nook? I ask because if you are removing…Id maybe like to buy it for my little boys room…I have wanted to do something like that:)
October 19, 2016 @ 3:20 pm
Thanks, Jenny! I’m excited, too! Unfortunately, I have already disposed of the awning! It was kinda faded and worn from the years.
October 18, 2016 @ 3:22 pm
Julie: Love the furniture transformations – can’t wait to see how the room turns out!
October 19, 2016 @ 3:21 pm
Thanks, Jeanne! I know! I can’t wait either! A little nervous, too! haha
June 7, 2020 @ 4:00 pm
My chalk paint was very thick and pasty when I followed this recipe. I wonder if yours was the same consistency? After I painted for a while the water started to leak out of the paint and sit on top of the container.
June 11, 2020 @ 9:04 am
No, I don’t recall it being thick and pasty. It will separate a little if it sits for awhile so I would recommend stirring it periodically if it’s a job that takes awhile.