My Bee Wreath Rug: the How-To
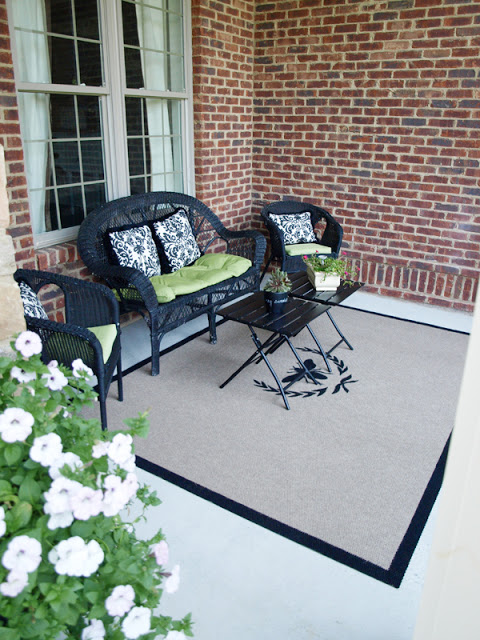
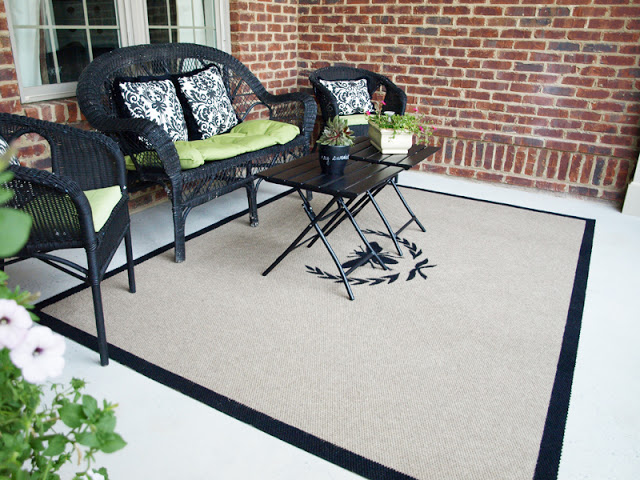
So, in case you haven’t heard the news, I’ve got a new rug on my front porch. And today I’m telling you all the reasons why I love it and how to make one for yourself.
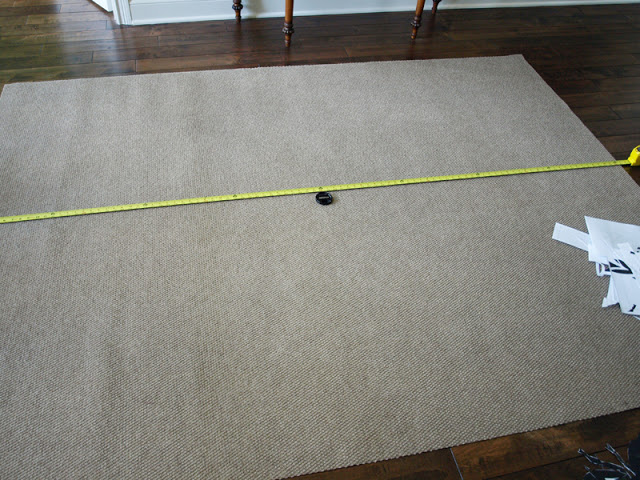
First of all, I found the best rug possible for a DIY project like this thanks tomy blogging friend, Jennifer from Dimples and Tangles. She shared the story of her own rug makeover and ended my search for a great project candidate. I’m telling you, you will not find a better outdoor rug for a better price. I chose the hobnail design , but it comes in ribbed as well. It’s a whoppin’ 6’X8′, super-soft on your feet, and lightweight yet substantial. So here ya go (you’re sogonna love this)… you can find it at HomeDepot.com. Click here to see it. At only $17.88, it’s a steal.
But what’s even better? You can save an extra 5% off your order and see any current coupon codes by first clicking on Ebates! Please tell me you’re already using this. If not, it only takes like 10 seconds to sign up and then you’re ready to start getting your free money. It’s so super-easy and you will love getting that check in the mail every 3 months! So, before you buy your rug, click here to sign up.
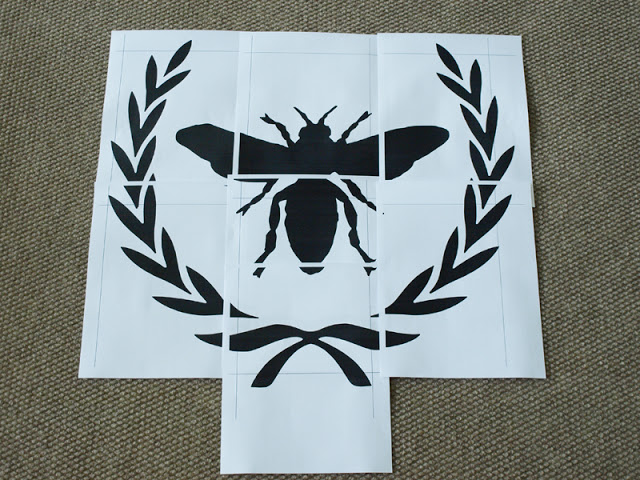
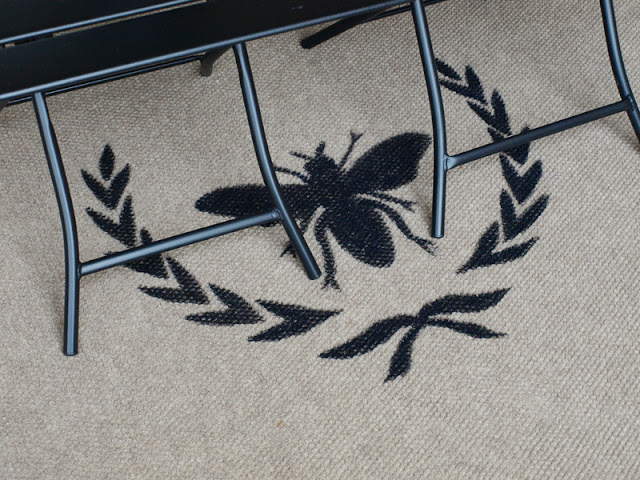
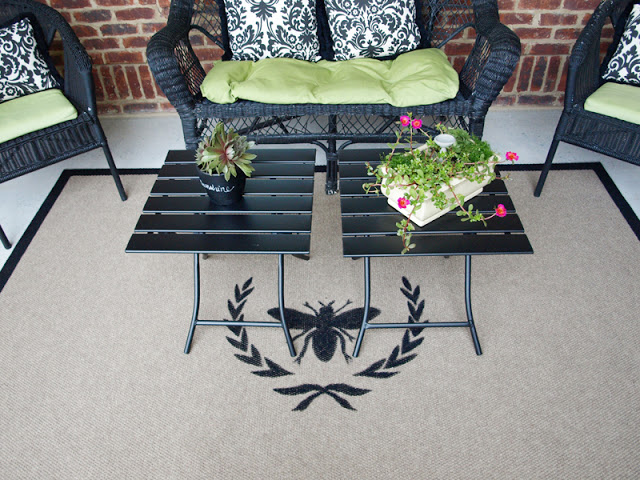
Once the rug arrives, you’ll be ready to add your design. I love, love, love a bee and laurel wreath motif, so I asked my handsome graphic designer (whom I happen to be married to) to whip one up for me that I could use as a pattern for my rug.
Click here to download the large version if you’d like to use it on your rug!
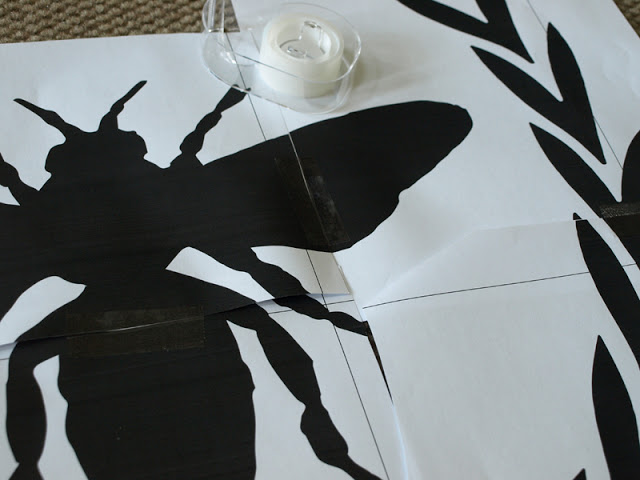
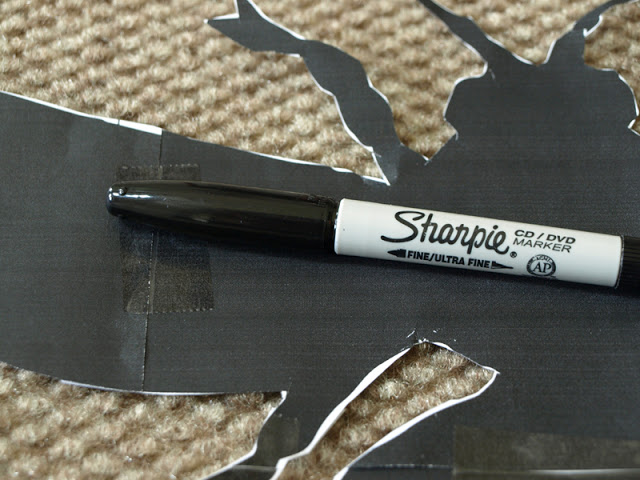
So, I printed it out and pieced it together with a little tape.
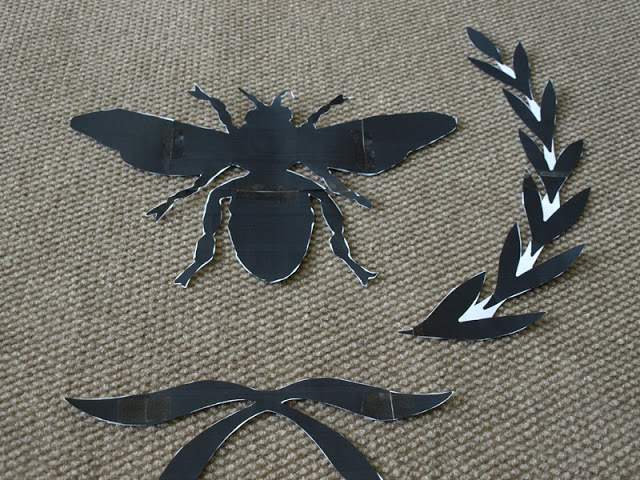
Then, I just cut around it, leaving the laurel wreath intact rather than cutting it completely apart.
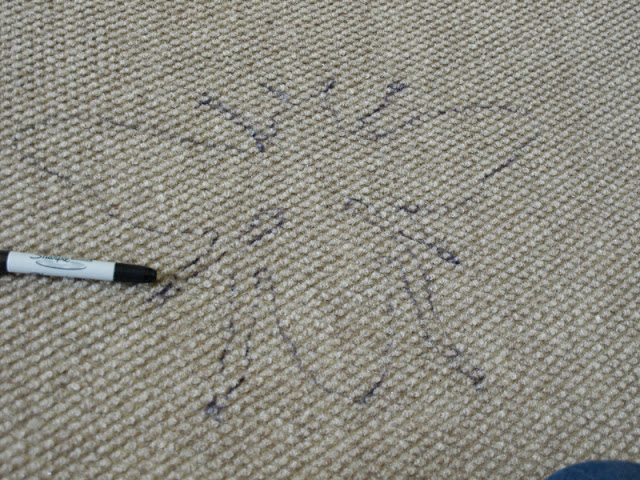
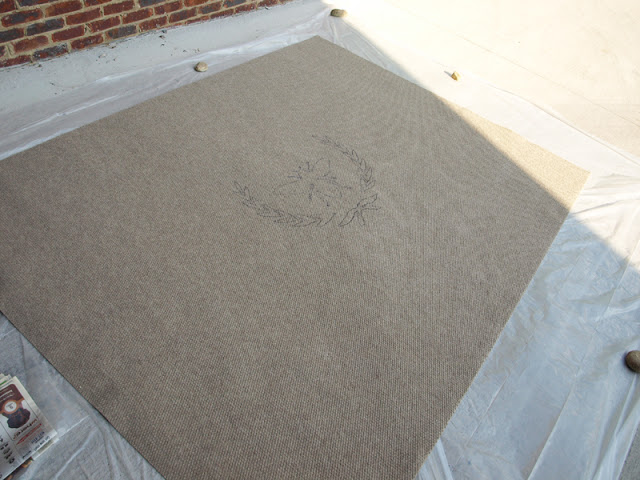
Then, I was ready to outline it onto the rug. So, I found the exact center and then outlined my pattern with a Sharpie.
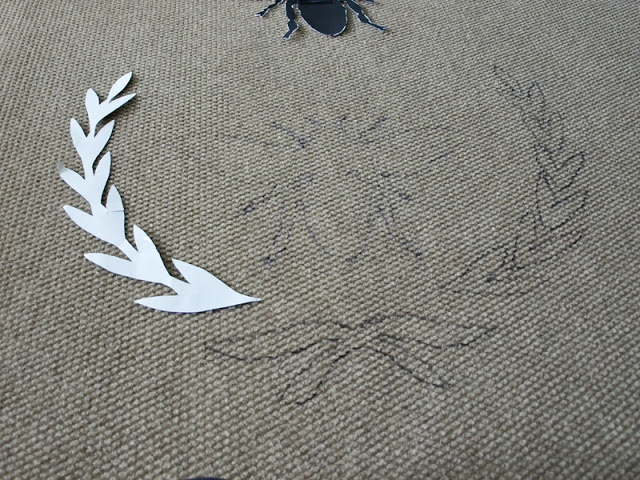
To save myself a little cutting, I just traced the reverse of the laurel wreath rather than cut out both sides. After the removing the pattern, I finished marking each individual leaf by free-hand.
Then, it was ready for the paint. I laid the rug out on the driveway with a drop cloth underneath to get started.
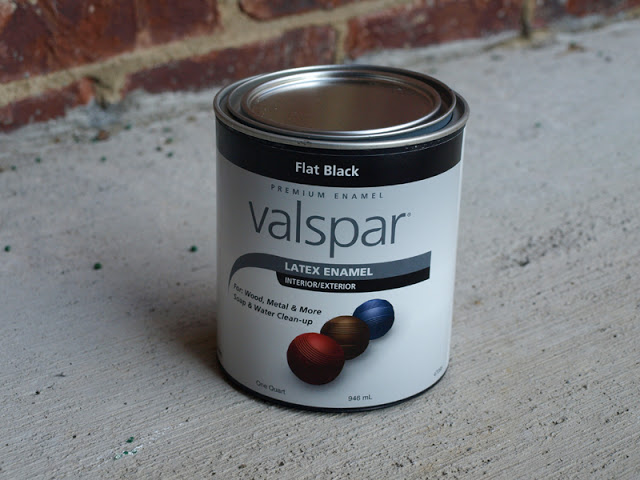
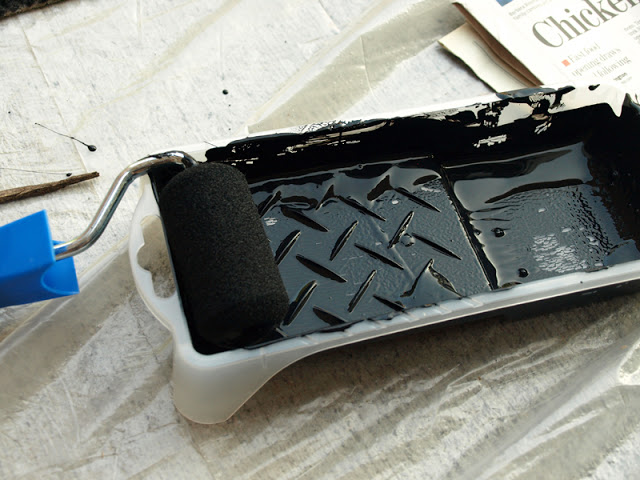
The paint I used was just basic flat black latex enamel off the shelf from Lowes.
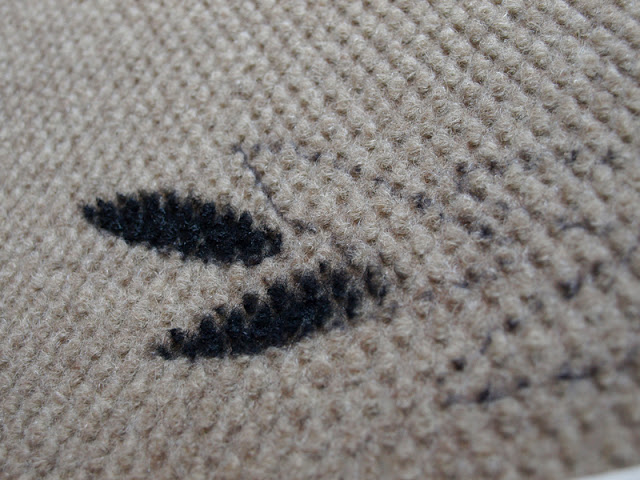
I used a basic small artist’s brush to paint in the design.
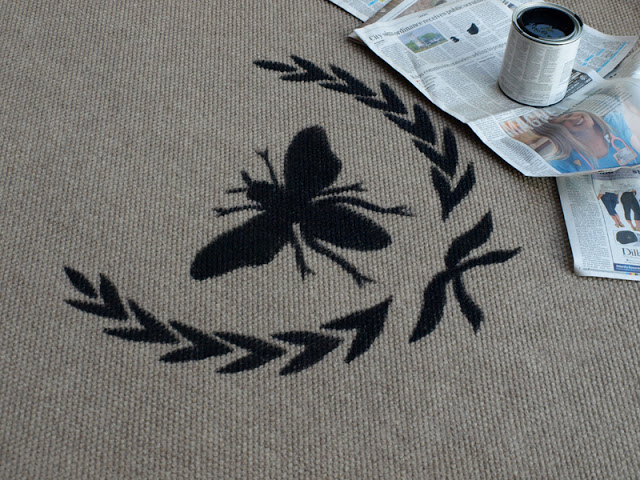
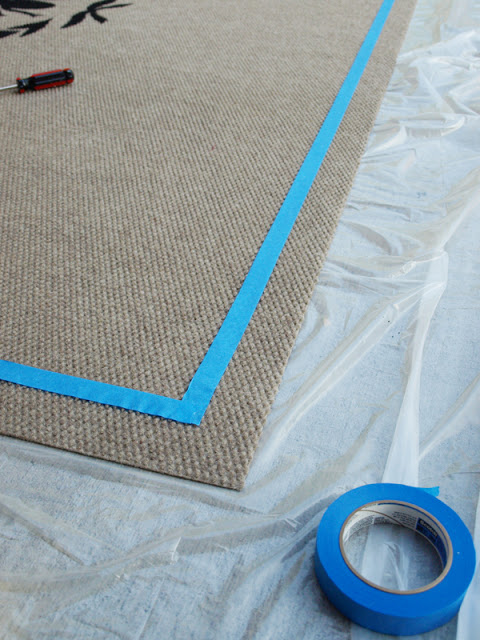
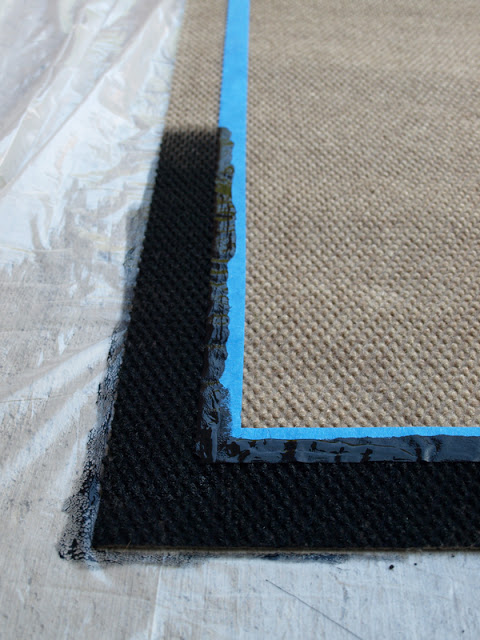
Then I taped off a 2-inch border and used a small foam roller to paint that on. It takes a little pressure applied to the roller to get the paint through the texture of the rug.
The entire design required about 2/3 of a quart of paint.
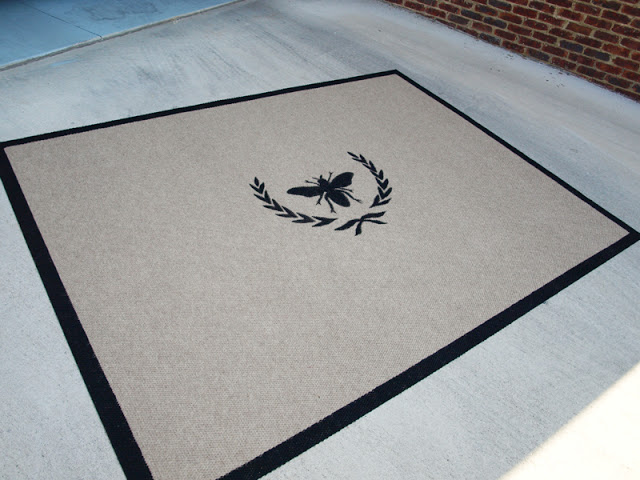
After allowing the paint to dry overnight, it was out on the porch. Did I mention I love it? Hope you like it, too, and get inspired to try it for yourself.
If you missed the tour of the rest of the porch, click here. Then, check out these great sites where I’m sharing this how-to!






June 6, 2012 @ 1:39 am
Thanks for the great tutorial Julie…this might be my next project!
Judy
June 6, 2012 @ 1:51 am
Accck! When I saw it yesterday I flipped over the rug! Thank you so much for the tutorial and image…it's gorgeous, and I already bought the rug. : ) thank you!
June 6, 2012 @ 4:03 am
Julie- What a wonderful job you did….and what a great price for a good basic rug. i wish they had it in just a slightly bigger size. Blessings- xo Diana
June 6, 2012 @ 7:07 am
Love it. You are a genius.
Paul
June 6, 2012 @ 11:28 am
That rug looks perfect where it is! BRAVO!
June 6, 2012 @ 12:41 pm
This is perfect! I see a rug purchase in the near future!
June 6, 2012 @ 4:41 pm
Absolutely fabulous, Julie! What a charming, welcoming spot and your rug ties it all together beautifully. Looks like it's straight out of a Ballard catalog! Love that these rugs are so reasonable, and when mine's done I'd love to try your design. Thanks for the mention!
June 6, 2012 @ 6:24 pm
That's fabulous. Wish we had a store with bargain rugs! Thanks for the tutorial.
June 6, 2012 @ 8:29 pm
What a great rug – love that it looks like it could be from a catalog but it so darn cheap to create! I HAVEN'T signed up for Ebates yet *embarassed* but am on my way there to do so right now 🙂
June 7, 2012 @ 10:44 am
That looks awesome! You did a great job with your rug!
June 7, 2012 @ 10:53 am
AMAZING!!!!!!!!!!! My goodness! LOVE the bee!! With this concept you can paint anything on a rug! Great idea!
Now, I hope you are planning on sharing this at The DIY Dreamer.. From Dream To Reality!! Please!!
June 7, 2012 @ 6:44 pm
I love this and think I need to make one for our back patio! I would love it if you would share this on my linky party Tout It Tuesday. http://www.claimingourspace.com/2012/06/tout-it-tuesday-9.html
June 8, 2012 @ 12:58 am
I love this project! Pinning this now for future reference.
June 8, 2012 @ 1:55 am
What an amazing deal on a great rug, and you made it beautiful! I love this, thank you for sharing your how-to.
Hugs, Tanya 🙂
June 8, 2012 @ 4:11 pm
Love it, love it, love it! Pinning this. ~ Maureen
June 9, 2012 @ 4:54 am
adorable…I need ideas for our porch off our kitchen…gonna borrow this one 🙂
June 9, 2012 @ 11:31 am
Julie I love this! Beautiful choice of design and great price on that rug!
Susan
Homeroad
June 9, 2012 @ 12:48 pm
Oh my goodness! my porch desperately needs an outdoor rug, and I'm going to check out that one right now. Thanks for the inspiration.
June 9, 2012 @ 1:30 pm
I am inviting you to come and be part of my blog hop:
http://juliejewels1.blogspot.com/2012/06/show-your-stuff-27.html
June 10, 2012 @ 3:27 pm
I am getting ready to move in the next month and have a tremendous outdoor area. What it does need is a great outdoor rug. And to be honest…the blog world has made me a lot more frugal. I LOVE your rug and maybe even more I LOVE the price! Thanks for sharing!!
Heidi@HomemadeBeautiesByHeidi
June 12, 2012 @ 9:16 pm
I am loving this rug and outdoor space. I will be featuring this tonight at my Swing into Spring party that opens at 8pm EST. Please stop by and pick up an I've Been Featured button. Thanks.
June 14, 2012 @ 1:22 pm
Wow! I love your tutorial! Your rug is beautiful.
Dee
June 15, 2012 @ 2:10 am
Love this rug! You did such a great job, & you gave a really good tutorial on it. I would love for you to come link it up at my linky party! http://www.lizmarieblog.com/2012/06/link-up-with-me-liz-marie-5/ I know my readers would love to see it.
liz marie
lizmarieblog.com
June 15, 2012 @ 2:35 am
Yay Julie! Congrats on your Shabby Nest feature! 15 minutes ago I just finished my chevron skirt that you showed us how to make…LOVE IT!!! It took longer to cut it out and change the zipper foot than it did to make it!
June 17, 2012 @ 3:41 pm
Just wanted you to know I featured your adorable rug on my blog today-I LOVE it!!
June 17, 2012 @ 7:51 pm
this rug is adorable, julie! tfs!
June 19, 2012 @ 4:19 am
Love this! Newest follower! laura@imnotatrophywife.com
July 31, 2012 @ 3:28 am
i feel like a dork asking this, but…will the paint run if it gets wet (like from rain or spilled drink)?
July 31, 2012 @ 11:25 am
Good question! No, it won't run. Once it's dry, it's permanent 🙂
August 3, 2012 @ 4:32 pm
Love this. You are such a genius!
http://indooroutdoorcarpet.org
September 22, 2013 @ 4:13 pm
Can you post a smaller stencil of the picture, I would love to put it on a smaller rug or something.
September 22, 2013 @ 5:40 pm
Hi, Lynn! If you save that image in the post to your computer, you should be able to print it out in various smaller sizes, depending on what percentage you choose when printing! So glad you like it!
May 24, 2014 @ 3:42 am
Hi! I love this, and it's just what I was looking for- do you think I could cut that rug to size, or would it fall apart?
Thanks!
May 24, 2014 @ 12:13 pm
Jackie, I think there's a good chance you can cut this without it falling apart. There's no binding around the edge, so I think it could work. I haven't tried it yet, but I have thought about it! If you do try it, be sure to let me know how it turns out!
April 29, 2015 @ 5:12 pm
WOW! <3<3 Thank you so much for this–it is one of the best resources Ive found…and YES! Im doing this for sure. Home Depot Rug find was perfect! <3 <3
50 Colorful and Creative DIY Rugs Ideas » DIY Crafts
June 28, 2021 @ 11:08 pm
[…] Personalize any space by adding personalized rugs and carpets! Look at this sample personalized rug that comes with a bee monogram and is looking damn cool and fantastic! Print out a bee monogram, cut it out and then trace on your rug and next fill it up with the paint selected in your favorite shade! Here black paint has been used for the beautiful bee monogram! lessthanperfectlifeofbliss […]