Chalk Painted Pedestal Table Makeover
Last week, on my Instagram, I shared a few shots of my latest painting project. It’s a small pedestal table I’ve had for years, but haven’t used in a while. I had the table, along with my big birdcage, in my storage room, and decided to bring them both out for Spring! But the table needed a little brightening up, so I decided to give it a makeover!

Before I share all the steps, here’s how it turned out! It seems like an entirely new piece to me, and I love it!

Here’s what I did: First- I mixed up a batch of the DIY chalk paint recipe I first shared a few months ago. (Click here to see the recipe and easy how-to.) The color I chose this time was SW Dorian Gray.

I decided, for this piece, I wanted to just paint the pedestal and leave the top unpainted for added interest and because I didn’t want to mess up the beaded edge of the top.


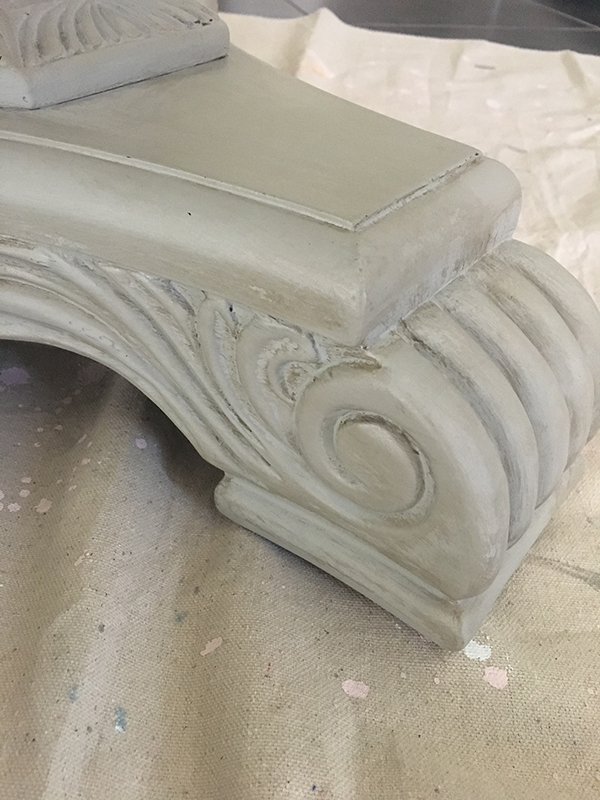
It just took a couple coats to get a nice coverage of paint on the pedestal. However, because of the detail work on the piece, I wanted to glaze it a little for more definition.

(This post contains affiliate links which help to support this blog.)
To glaze a piece, I use the tiniest bit of dark stain mixed with a clear mixing glaze. I found this carton at Lowes years ago, but you can also buy it online here. It takes only about a teaspoon of stain mixed with about 1/4 cup of the glaze medium for a piece about this size.

I use a plastic disposable cup or jar and an old paintbrush so I can just throw it all away afterward.


I apply it liberally with the brush, then simply wipe it off with a soft cloth, giving it the aged look I want.


To finish, I like to use this Minwax Paste Finishing Wax or Johnson’s Paste Wax. It just gets applied with a clean, soft cloth, then buffed about 15 minutes later. So easy!

And I’m so happy with how it turned out! Hope you like it, too!


Click below for a more detailed how-to on painting furniture if you’d like to know more!
Click HERE


March 7, 2017 @ 11:09 am
Love the light and dark contrast! It looks great in the nest.
March 8, 2017 @ 10:17 am
Thank you, Teresa! 🙂
March 8, 2017 @ 8:22 am
Love it. Very nice work. 🙂
March 8, 2017 @ 10:18 am
Thanks, babe! 🙂
March 9, 2017 @ 7:08 pm
Hi from Melbourne! What a great make-over 🙂 and fabulous photos too. The birdcage looks super cute too!
March 10, 2017 @ 7:45 am
Thank you!! So glad you like it! Hope you are enjoying your Autumn! 🙂