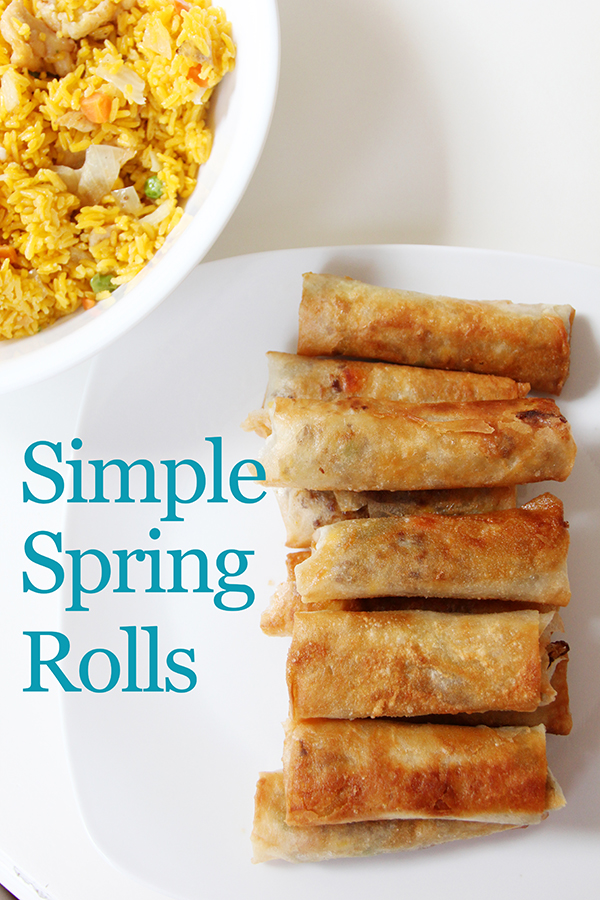
How to Make Simple Spring Rolls
If I had to guess, I’d say there are probably about as many ways to make a spring roll as there are types of pizza in New York. They can be filled with all kinds of meats, veggies, or fruits, and be spicy or sweet or somewhere in between. But, my friend, Lynn, makes the best ones I’ve ever tasted. It’s a savory classic version that’s easy to make and delish! She recently invited me over to learn how to make them, so I snapped a few pics so I could share them with you!
Here’s what you need to make around 50 of them:
- 50 Lumpia spring roll wrappers (we used the frozen ones, found at Asian food markets)
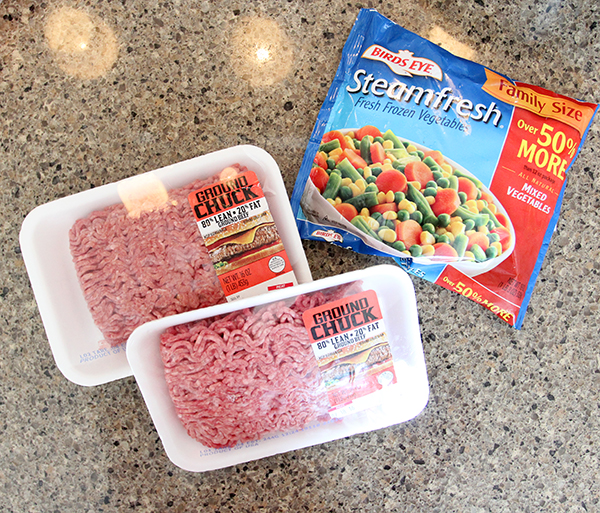
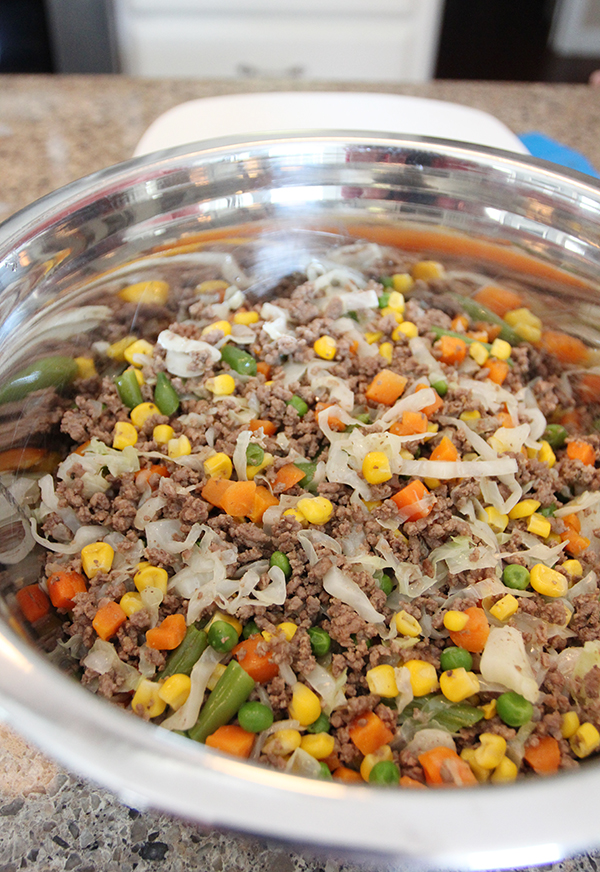
- 2 pounds ground beef
- half an onion, chopped
- half a head of cabbage, shredded
- 1 pound bag of frozen mixed veggies (we chose green beans, carrots, corn, and peas)
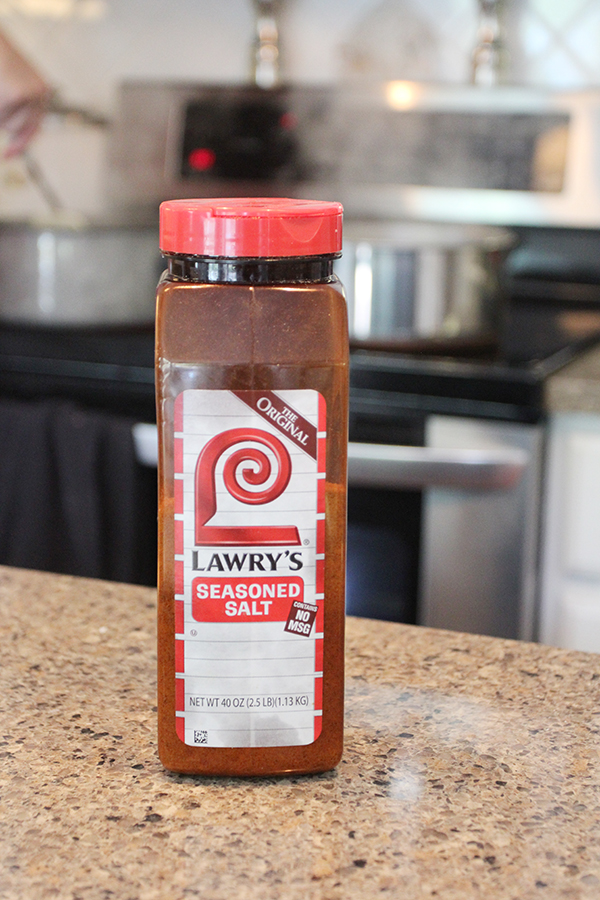
- about 3 Tbsp Lawrys seasoned salt or other seasoning (more or less to taste)
- salt and pepper
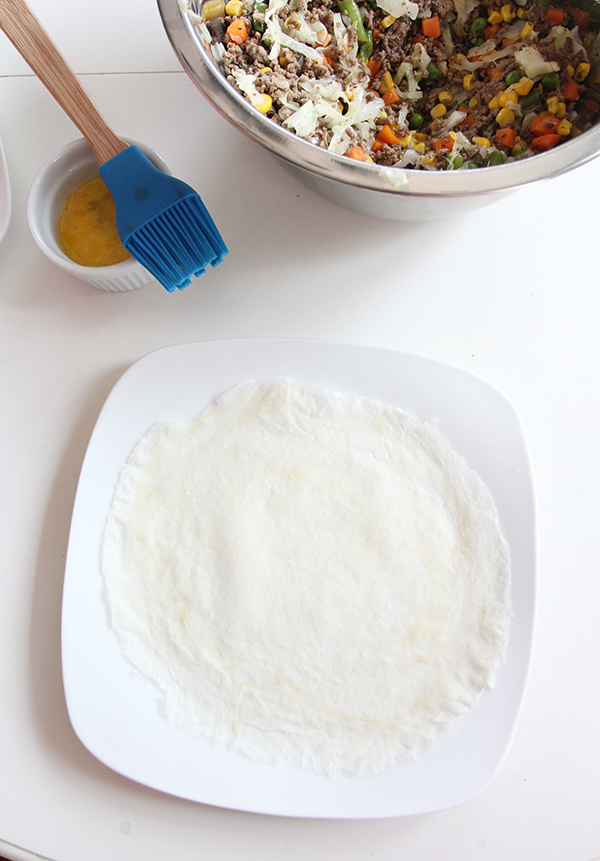
- 2-3 eggs for brushing on the wrappers
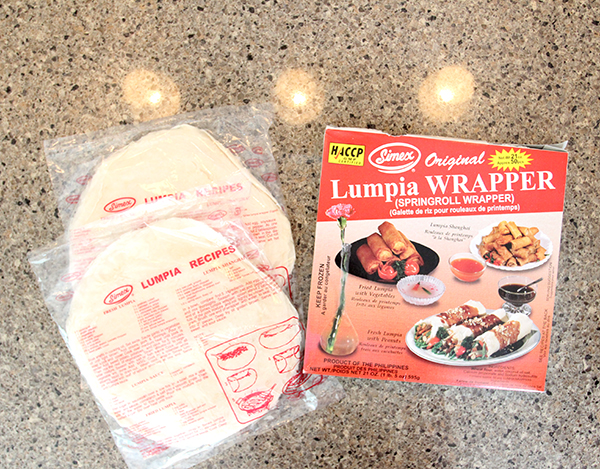
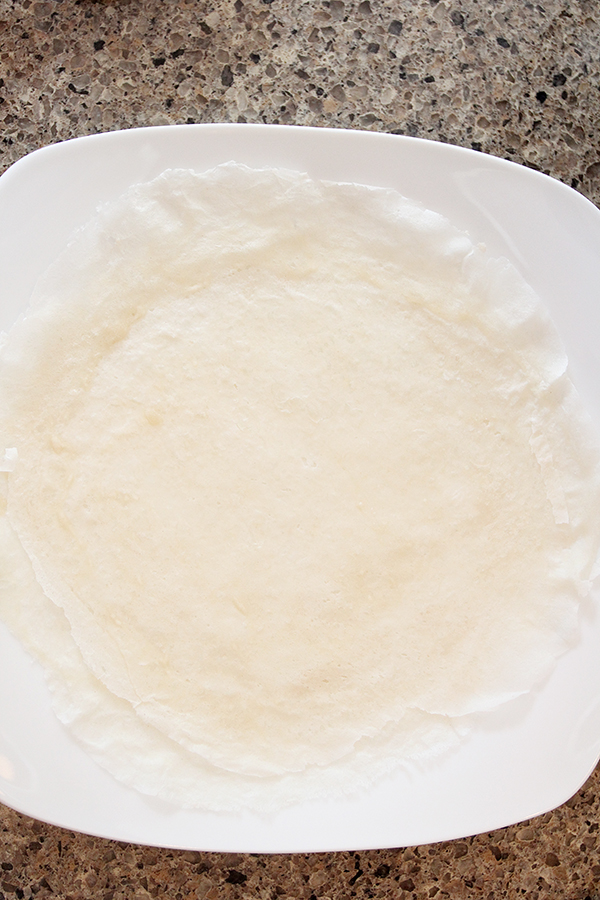
When you’re ready to start, remove the wrappers from the package and place them on a plate at room temperature to allow them to thaw.
Heat the frozen vegetables according to package directions and set aside. Then, begin cooking the ground beef and onions, adding the shredded cabbage when the meat is almost done. When the cabbage is softened, drain the grease from the pan and add the vegetables, seasoning, and salt and pepper to taste.
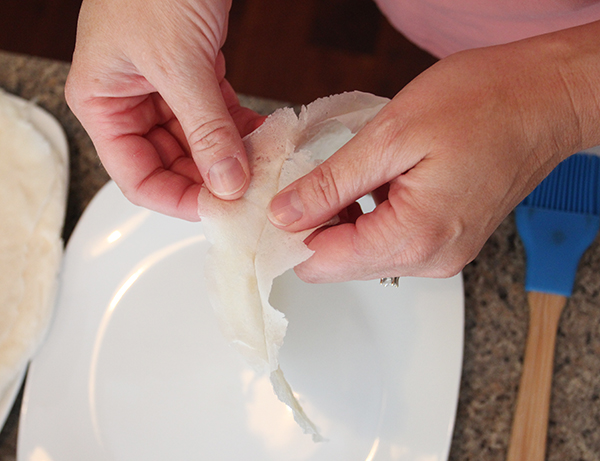
When the wrappers are thawed, carefully separate each one by peeling them apart and stacking them on a plate. (It helps to have friends make these with you!)
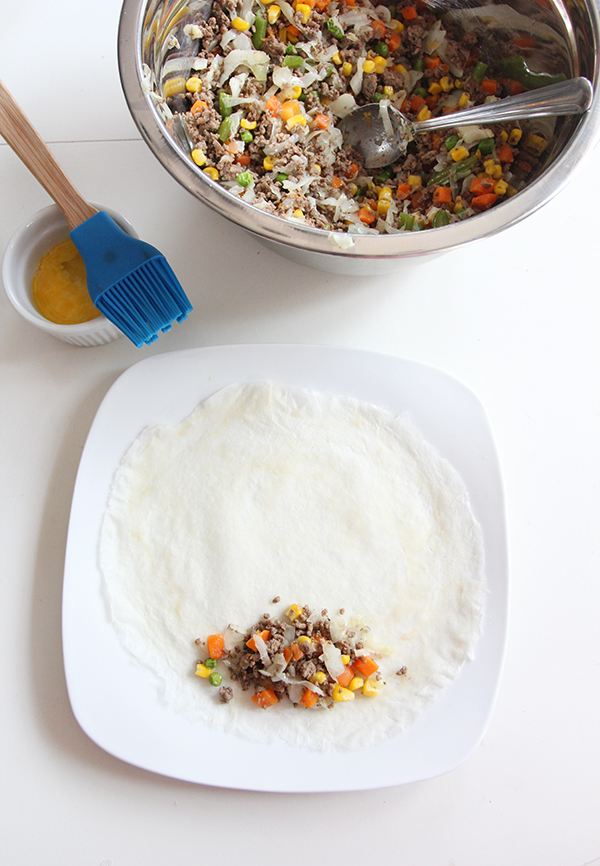
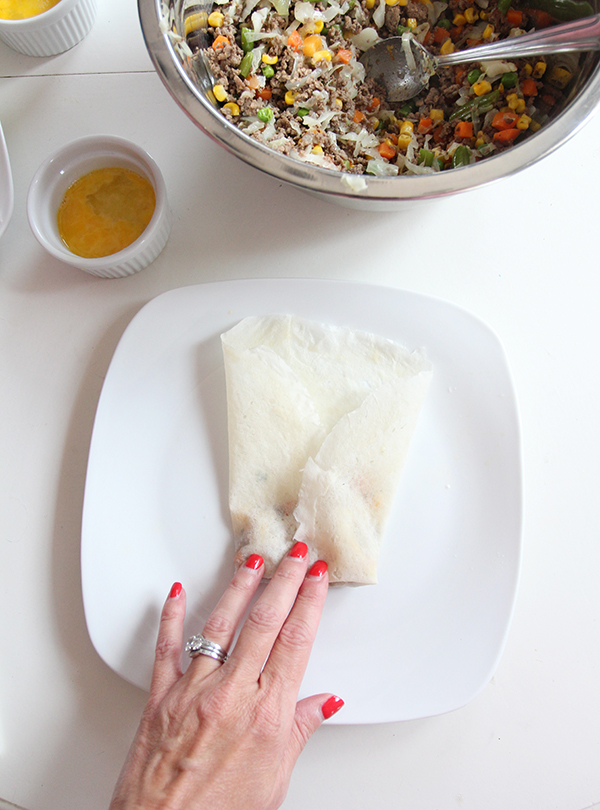
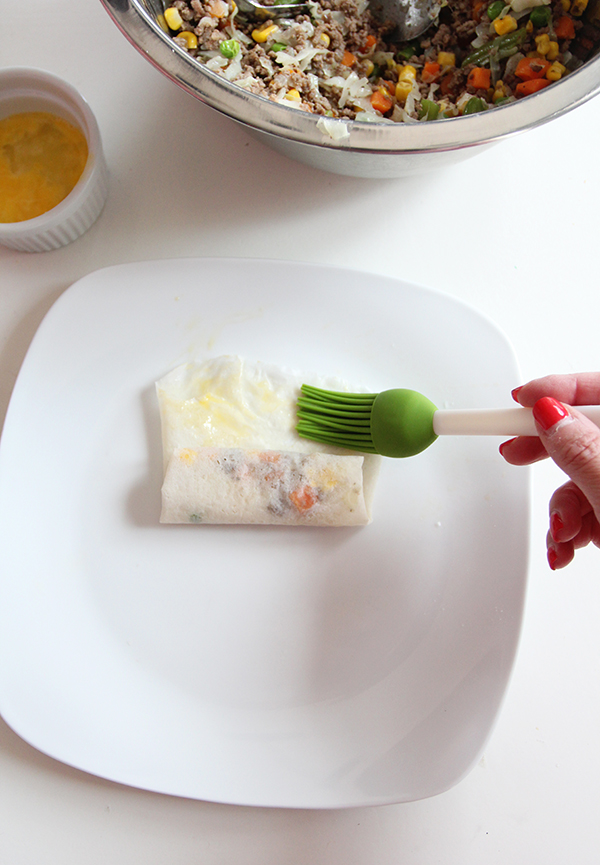
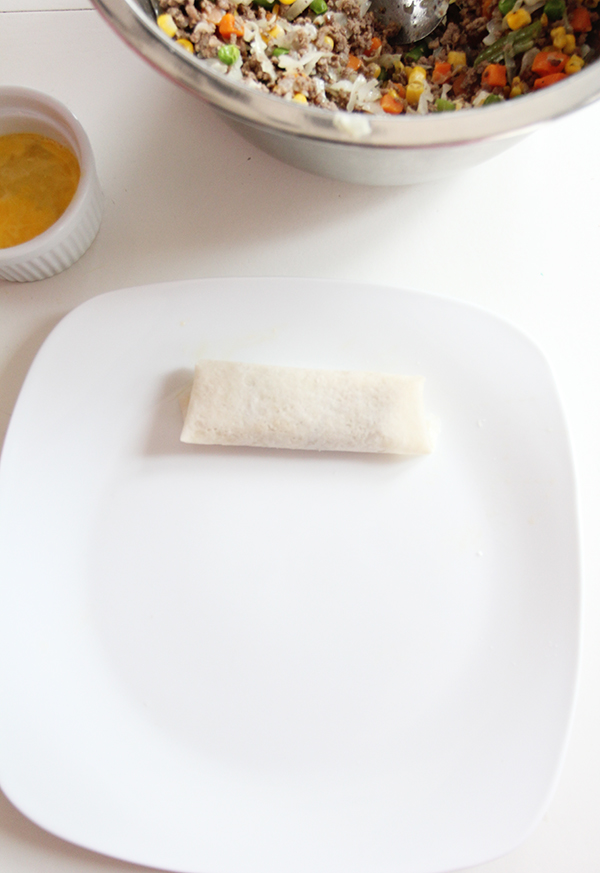
Once the wrappers are all separated, you’re ready for assembly! Here’s a short video of Lynn demonstrating the proper way to roll them!
And here’s a little step-by-step for a closer look…

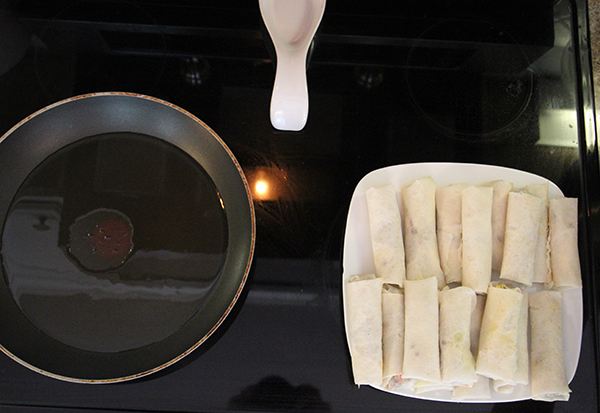
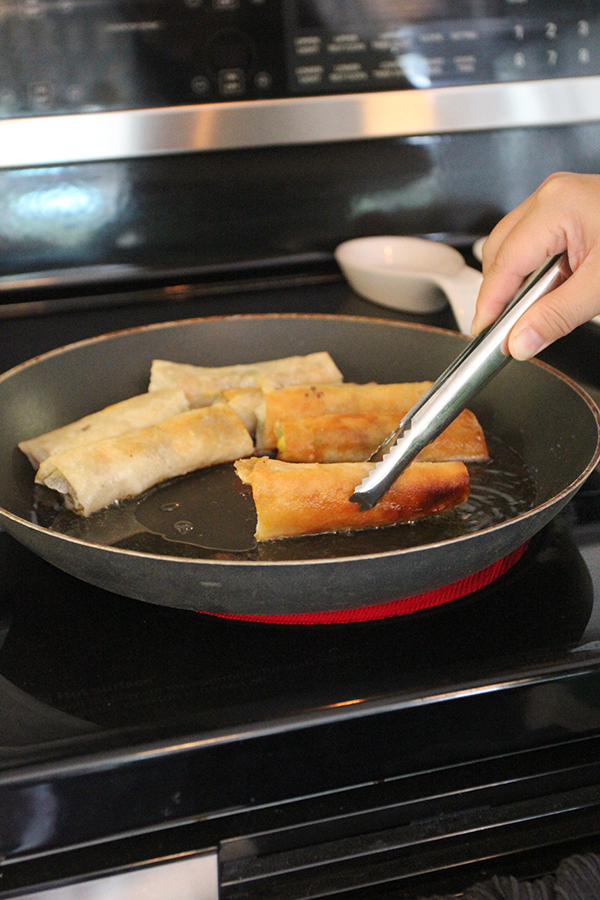
Once all the spring rolls are rolled, you’re ready to either freeze them for later or fry them up! To fry them, cover the bottom of a pan in vegetable oil and heat on medium-low heat.
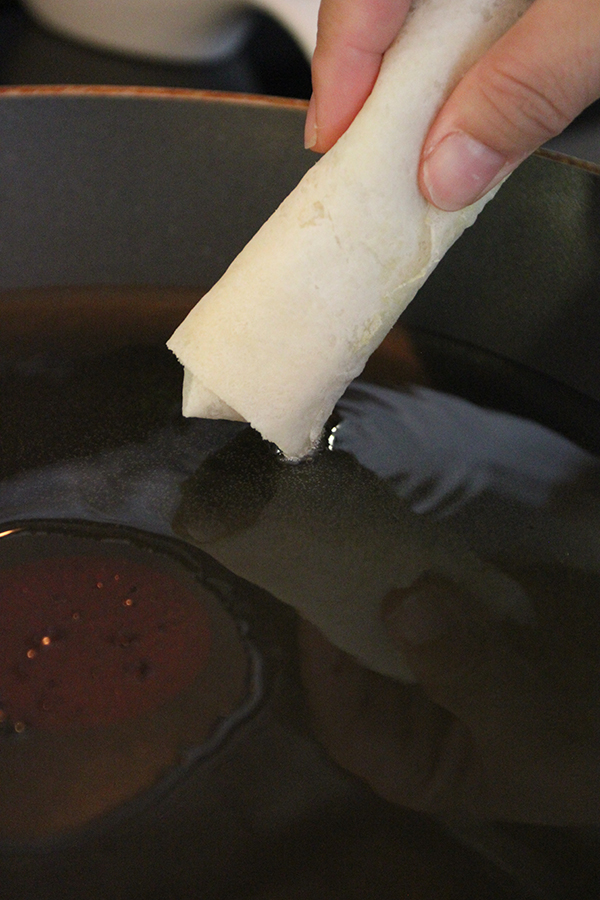
You can test the oil to see if it’s ready by dipping the corner of a spring roll into the oil. When the oil starts to bubble around it, it’s ready.
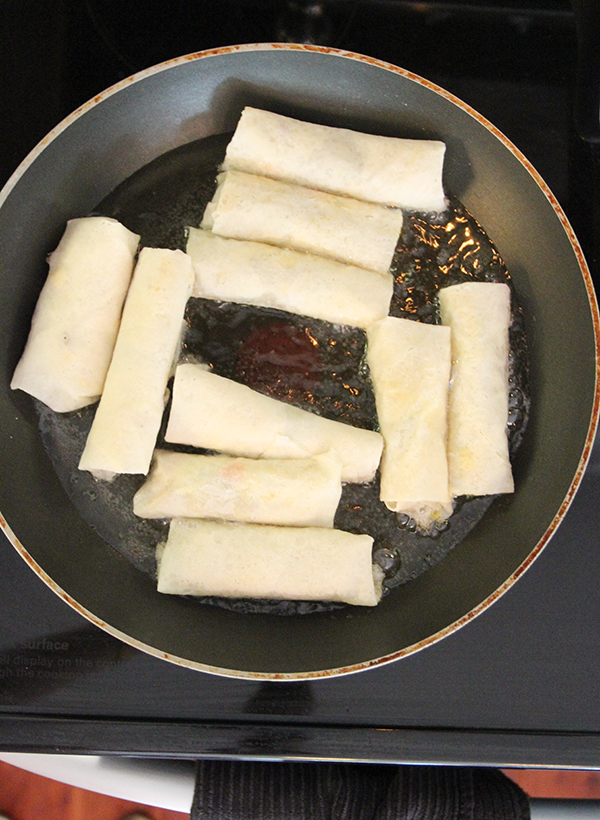
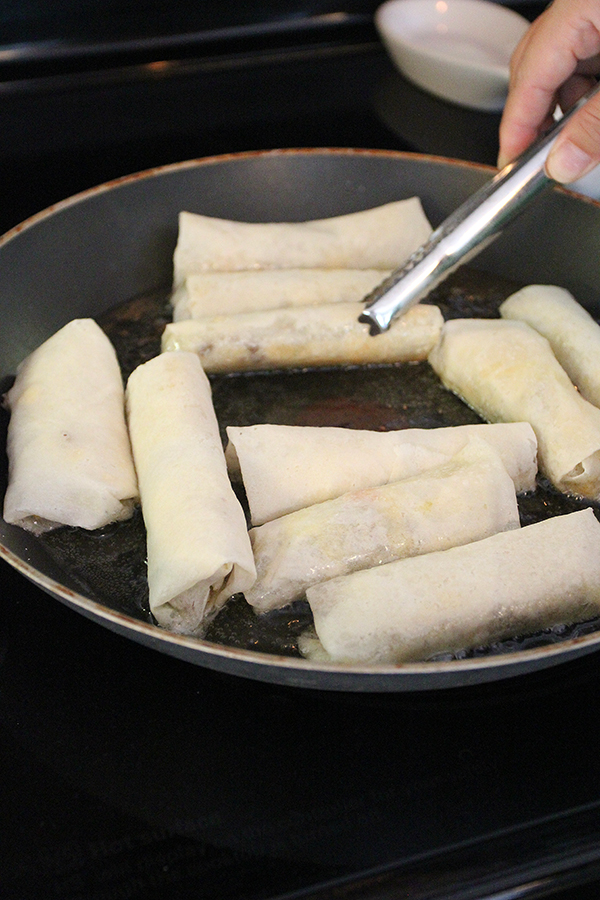
Place the spring rolls in the pan, cooking on each side until golden brown. Since the filling is fully cooked, it only takes a couple of minutes on each side to get the wrappers browned.
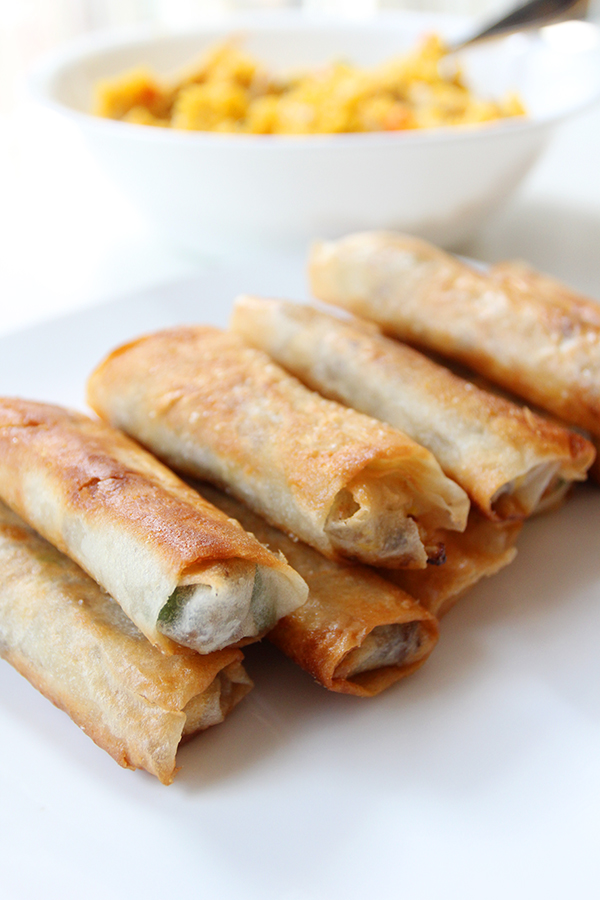
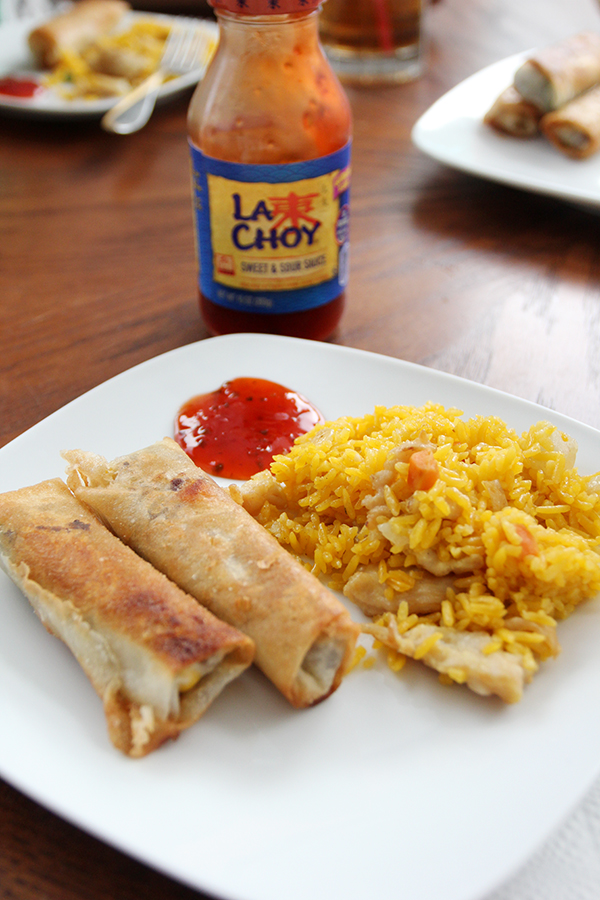
These are so beautifully delicious! Perfect served with your favorite fried rice!
And sweet and sour sauce is perfect for dipping! I’m not kidding– my kids jump for joy when I tell them we’re having Lynn’s spring rolls. It’s definitely a family favorite!
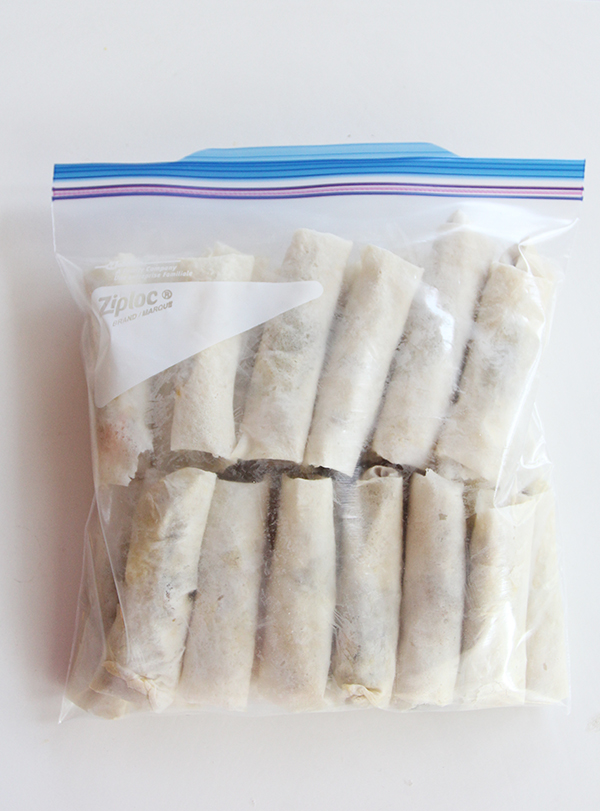
And I love that they can be frozen and used when needed. Just thaw in the fridge on the day you plan to use them, and then fry them as directed above!
I’d like to thank my friend Lynn for teaching me to make these and giving me yet another food addiction to try to get over! Try these! I think you’ll love them.
{By the way, this is the same Lynn whose daughter has the awesome teen room I shared here. Such talent in this family!}
The affiliate links below are for some tools and supplies you might like for this recipe:


October 4, 2016 @ 9:19 am
These look so delicious and the filling could be adapted to what you have on hand or likes and dislikes. Thank you for sharing.
October 4, 2016 @ 8:05 pm
Yes! Exactly!
October 4, 2016 @ 7:34 pm
What did you brush on the edge of the wrapper when you rolled it up?
October 4, 2016 @ 8:08 pm
That’s the egg– sorry I should have specified!