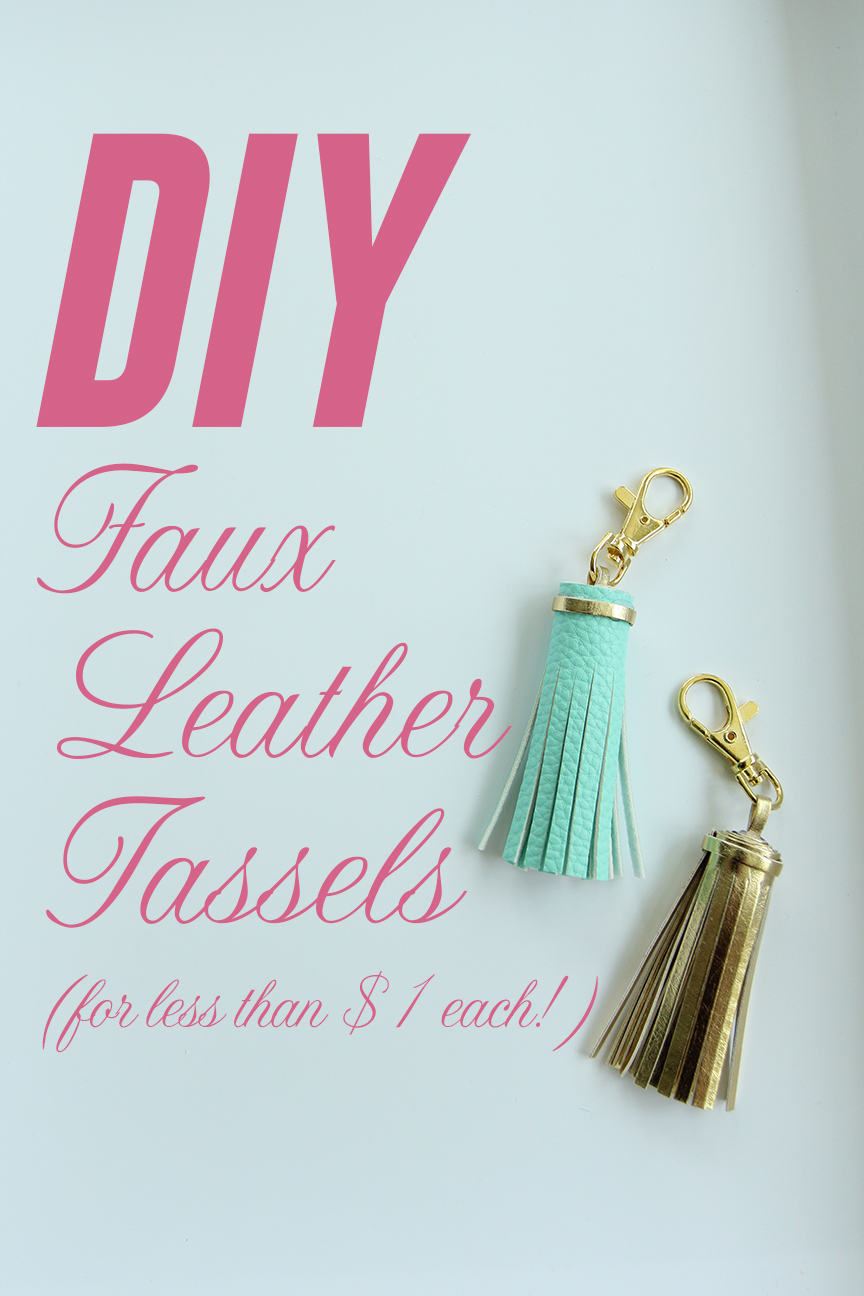
These little leather tassels are everywhere and I love them! My girls and I recently found some perfect supplies at a super price to make them ourselves–so, of course, I’m telling you all about it so you can, too!
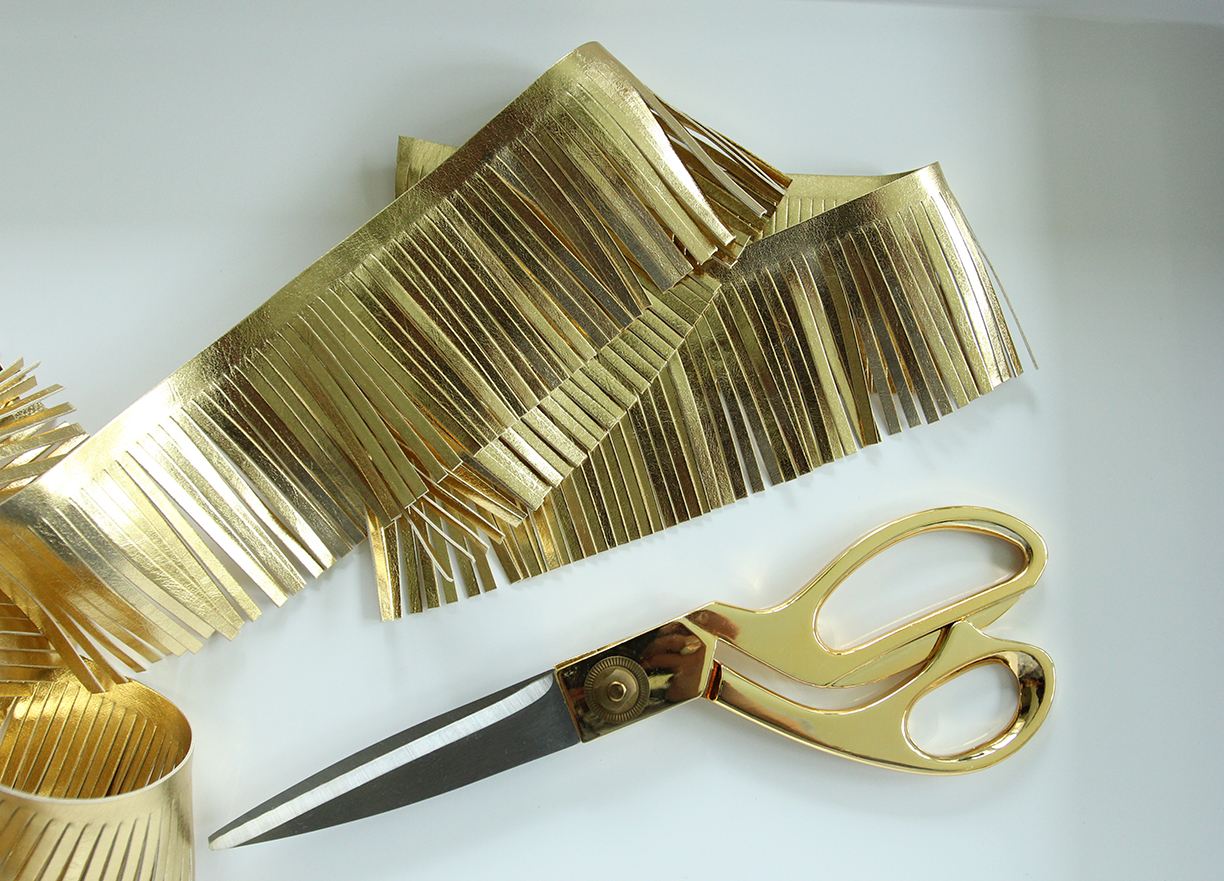
Once again, it’s Hobby Lobby that has come through for us, and made everyone’s day by having this fabulous gold metallic fringe! (Remember this from my pineapple pillow I made here?) You can almost make a tassel out if this with your eyes closed! (But since there’s hot glue involved, let’s not try!)
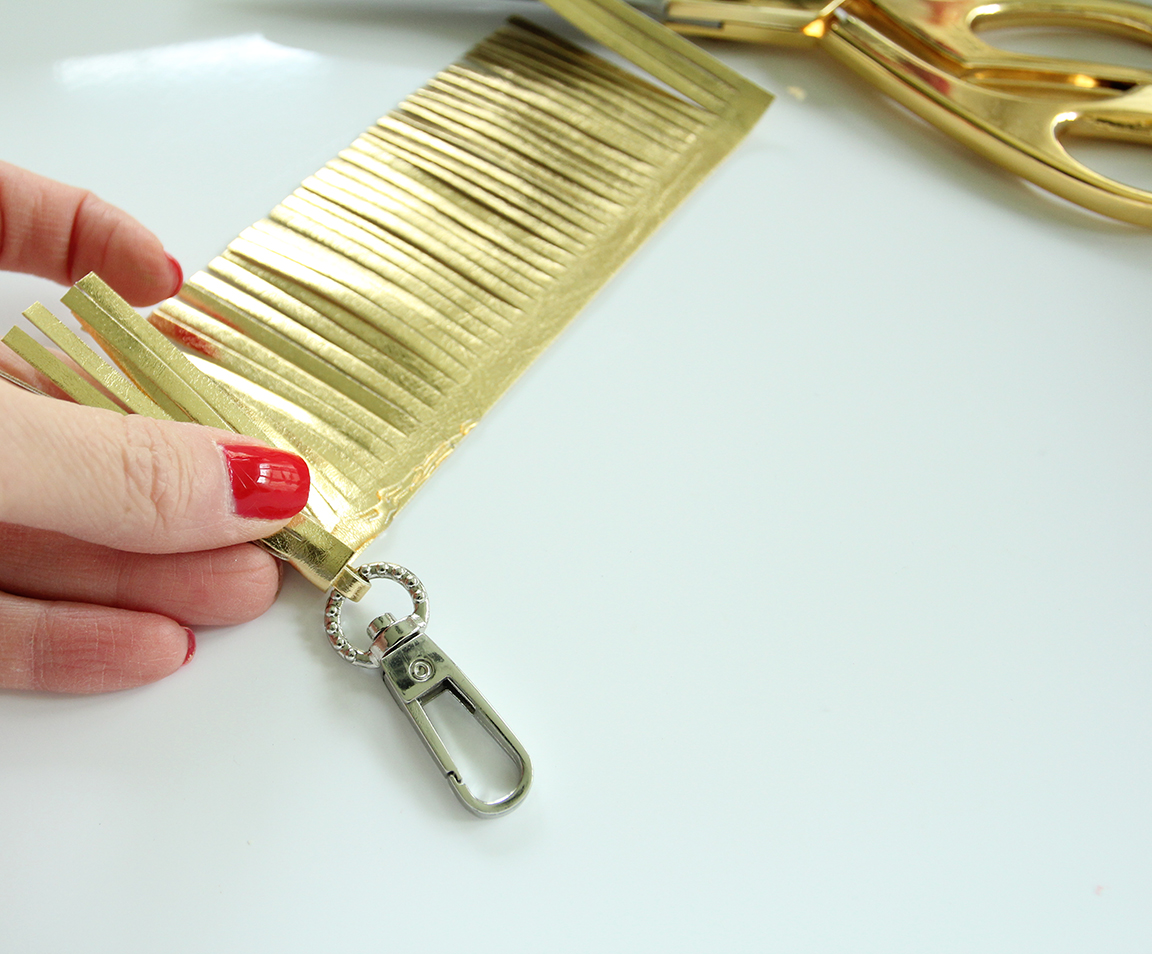
You’ll also need a swivel clasp. These gold ones are fabulous and only about 40¢ each when you order them here via my affiliate link. (They’re the gold plated 38 mm)
Or, they sell the silver ones like these at Hobby Lobby for a little more…
Just cut the fringe to the length you want. We cut ours to about 6 inches…
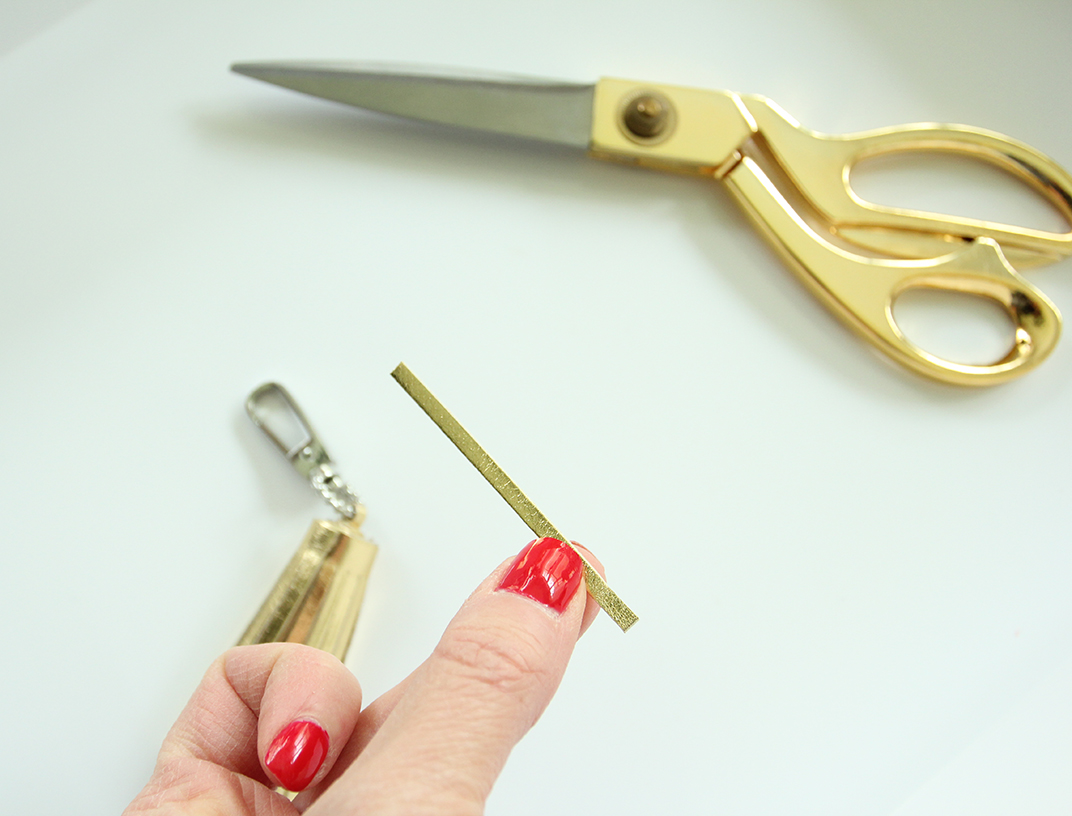
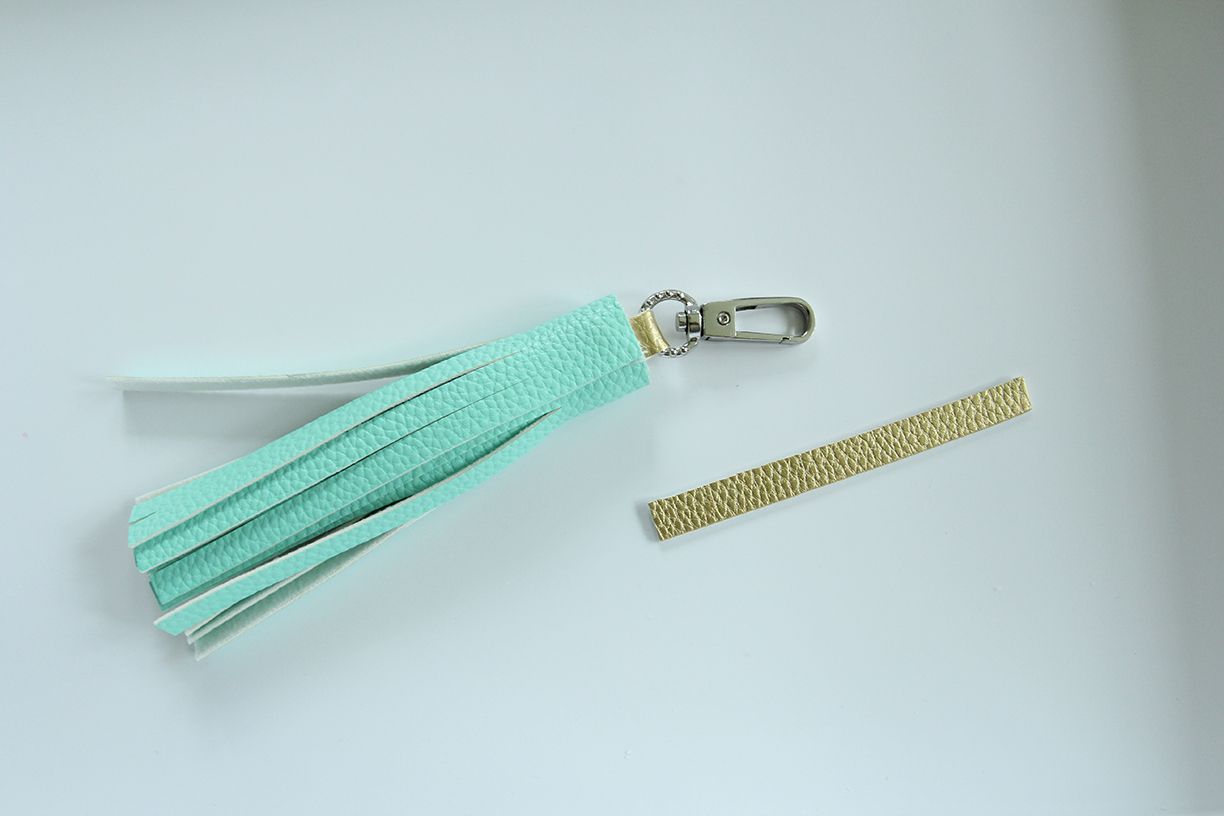
Then, cut another strip of the fringe to put through the clasp to become the tassel tab.
Glue it with a little hot glue…
Then glue the tab to one end of your fringe.
Then, just begin to glue and roll! The key to this is to use just a little glue so that it doesn’t squeeze out and make your tassel look messy, but also sealing and rolling while the glue is hot so that it sticks well!
When you reach the end, glue the end well, then cut one more strip to finish it off with a band around the top of your tassel!
We also made another version of tassels with these faux leather rolls, also from Hobby Lobby, in the ribbon aisle.
Since this one wasn’t fringed already, we cut that ourselves, starting with a 9-inch piece of the faux leather…
Once it was cut, we just followed the same directions as the first one…
There are so many things you can use a tassel for! We’ve already been adding a tassel to everything from gift bags to jewelry!
Hope you have fun with these! I’d love to see yours–just post a pic to my Facebook page, or tag me on Instagram!
These are seriously so great! Purse charms are a huge thing right now and it's nice to know that you don't have to spend a million bucks to get a cute one!


April 12, 2016 @ 12:03 pm
Super cute! I love the idea of adding it to a gift bag! Pinning this for later!
April 14, 2016 @ 11:22 pm
Thanks! So glad you like it!
April 12, 2016 @ 2:44 pm
How clever and cute are these. Love this idea and great tutorial.
April 14, 2016 @ 11:23 pm
Thank you, Marty! 🙂
April 12, 2016 @ 8:40 pm
These are seriously so great! Purse charms are a huge thing right now and it's nice to know that you don't have to spend a million bucks to get a cute one!
xoxo, SS
The Southern Stylista
April 14, 2016 @ 11:23 pm
Thanks, Jordyn! Glad you like them 🙂