Sew-Easy Pencil Pouches for Back-To-School
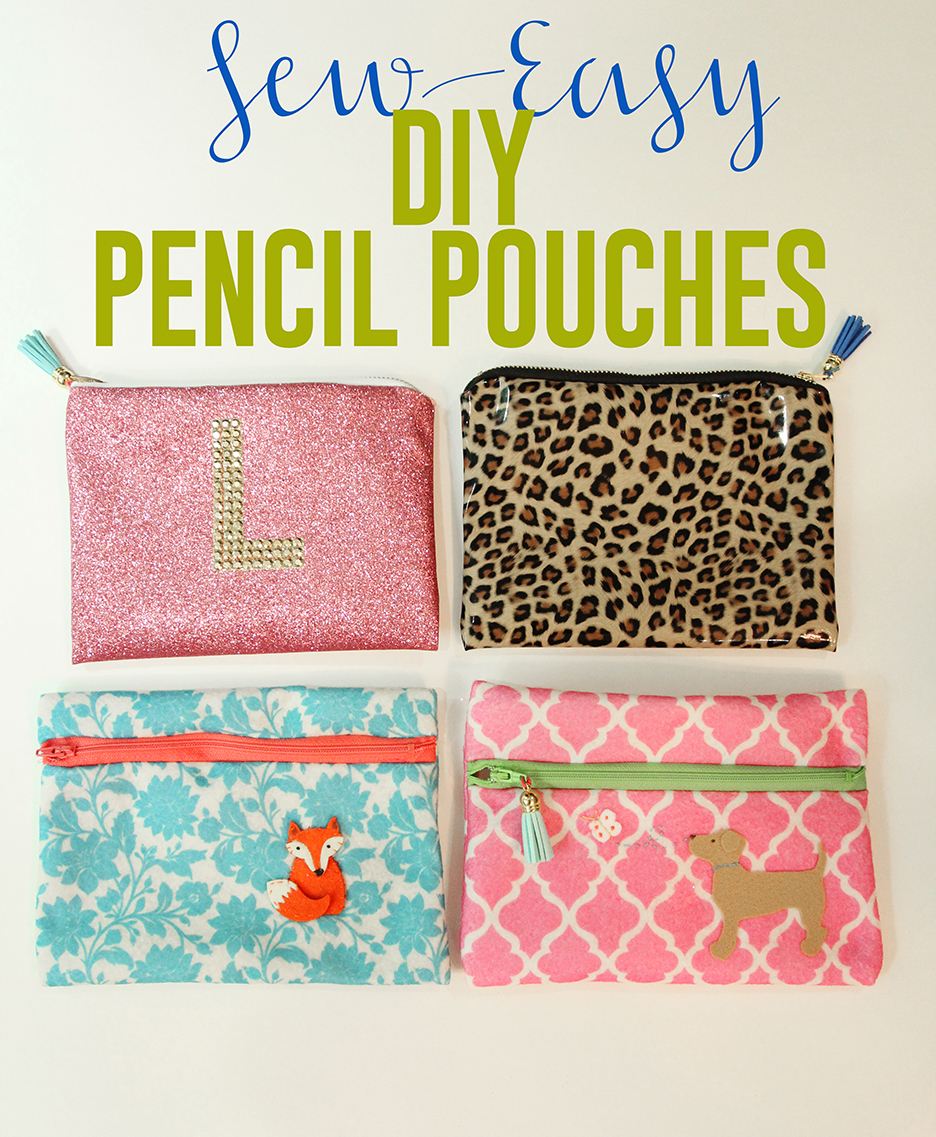
Just in time for back-to-school, the girls and I had a little fun recently with these, super-duper, fun and fantastic pencil pouches! We made some of these several years ago when Abby and Lily were little, and they still use them after all these years.

These require minimal sewing and minimal time, so they’re a great little project for kids to do themselves or with your supervision.

For the front-zipper design, line up the zipper, right sides together, on one of the short ends of the felt and sew it on.


Next, add an appliqué or embellishment of your choice. We found a cute dog here online and printed it off to use as a pattern. To make the appliqué, cut a piece of felt and iron some Heat ‘N Bond (found here or in craft stores) onto the back of the felt. Trace your pattern onto the felt and cut it out, then iron it onto your pencil pouch.

Use a little embroidery floss to add eyes and details.


When the appliqué is done, sew the other end of the pouch to the other side of the zipper…

Fold the felt so the zipper is positioned approximately one-third of the way from the top, then sew the two sides. Be sure to unzip the zipper slightly so that the pouch can be easily turned right-side-out after sewing.

We added a little tassel to the zipper for extra embellishment by tying it on securely with embroidery floss.


Lola made the dog pattern, and Lily made a fox one using a pre-made felt fox.


The possibilities are really endless!

We also made a couple of glam pouches using the leopard and glitter sheets!

These were made the same way as the felt ones, except we positioned the zippers at the top, rather than the front.


And for the pink glitter initial version, we used a gemstone adhesive “L”.

We sewed the “L” in place to hold it securely, then sewed up the pouch the same way as the leopard one.


Just so, sew-simple! My girls and I are loving these. Make them with your kids or make them for yourself! They make great gifts as well. Enjoy!

Related Posts


August 23, 2015 @ 1:25 pm
These are SUPER cute! Thanks for the tutorial! -Marci @ Stone Cottage Adventures